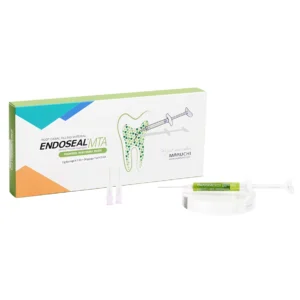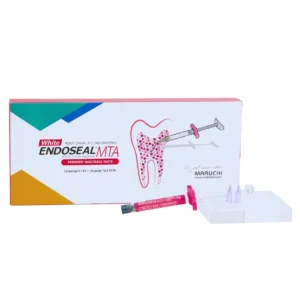

EndoCem Premixed MTA
$90.00 $80.00
ENDOCEM MTA premixed is a pre-loaded syringe root canal filling material. Set by absorbing moisture from the root canal environment.
2g syringe and tips
Description
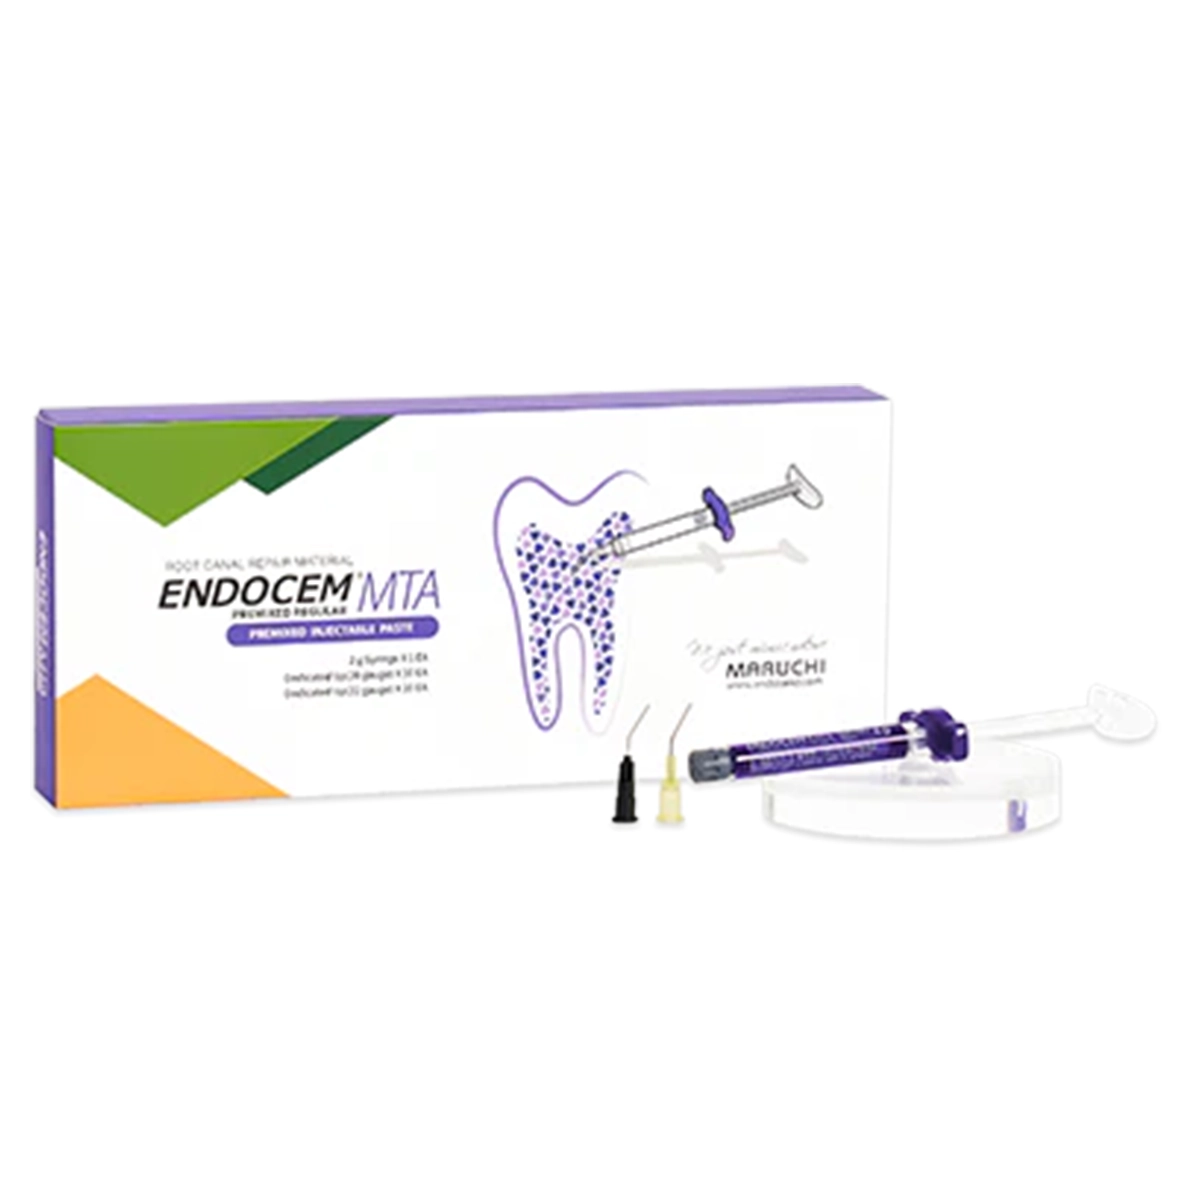
ENDOCEM MTA PREMIXED REGULAR is a root canal filling material conforming to ISO 6876, in a pre-loaded syringe that does not require any pre-mixing and is set by absorbing moisture from the root canal environment. It is designed to prevent irritation of pulp and secondary infections.
Premixed Injectable BC Putty (2g)
Each pack comes with one 2g syringe / 10 tips (22 gauge) / 10 tips (20 gauge) / 5 storage caps
The first Premix MTA for popularization. Rapid sol-gel changes for compaction.
Excellent physical properties and biocompatibility comparable to that of powder type MTA
1. Hemostatic action by phyllosilicate ingredient. ** Easy to use without bleeding control.
2. High compressive strength and stable dimensional change.
3. Pure synthetic C3S based, Aesthetic by Zirconium Oxide.
4. Easy application to narrow and deep areas.
5. Outstanding biocompatibility
1. No discoloration & Excellent radiopacity
Endocem MTA includes zirconium oxide as radiopaque material.
It is characterized by “No discoloration and excellent radiopacity.”
2. Excellent sealing ability & Effective stimulation blocking
Endocem MTA strongly seals not only the exposed pulp tissue but also the surrounding dental canaliculi,
effectively blocking stimulation regardless of whether the pulp is exposed or not.
3. Excellent Biocompatibility
Endocem MTA exhibits excellent biocompatibility containing Dimethyl sulfoxide
4. Superior physical property & Outstanding hemostatic action
Endocem MTA, based on pure tricalcium silicate, has better physical properties than conventional powder-type MTAs.
Endocem MTA consists of tricalcium silicate, dodecacalcium heptaaluminate, and Dimethyl sulfoxide.
Also, the phyllosilicate component offers powerful hemostatic action and inhibits shrinkage during the setting process.
Specification
PHYSICAL AND CHEMICAL PROPERTIES
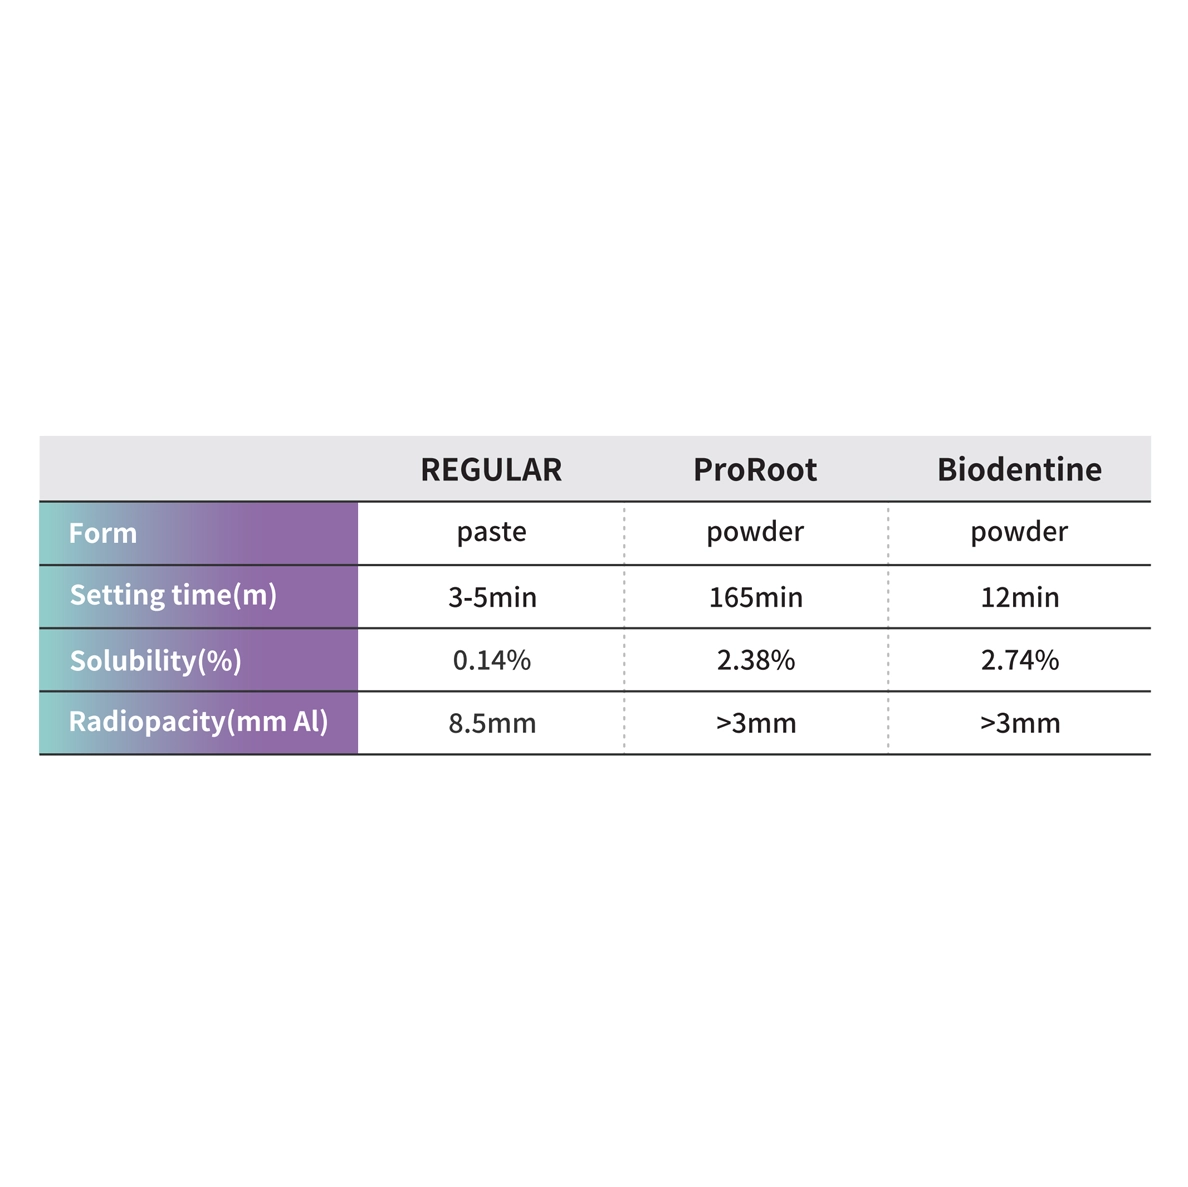
- Setting time: 3~5 min
- Radiopacity: Equivalent to 3 mm of aluminum or more in thickness
- Solubility: < 3%
Instructions
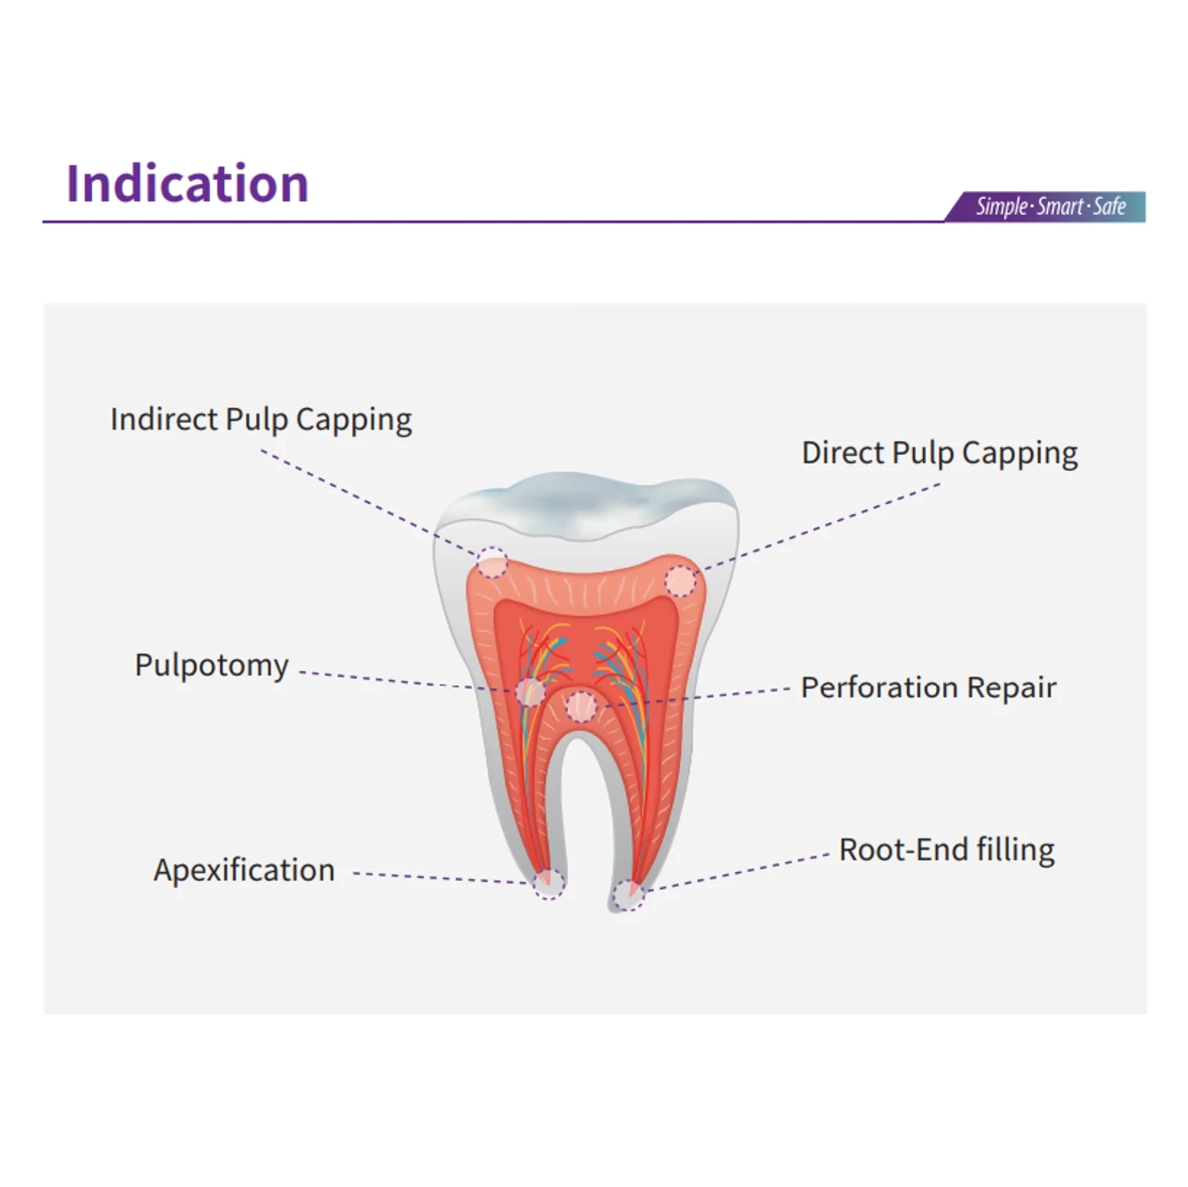
INDICATIONS FOR USE
The product is used for vital tooth therapy (pulp capping, pulpotomy), root end filling, and repair of perforation.
PRECAUTIONS FOR USE
1. WARNINGS
- Do not use in patients with allergic reactions to chemicals (specifically to Dimethyl Sulfoxide).
- For dentists’ use only.
- Make sure that the product does not pass over to the mandibular canal or maxillary sinus.
- Do not use large amounts in the root canal because it is difficult to remove.
2. GENERAL PRECAUTIONS
- Check the product and packaging for abnormal condition or damage before use.
- Do not use other than for intended use.
- Keep in pouch provided before use to prevent a potential adverse reaction by carbon dioxide and moisture present in the atmosphere.
- Do not contact unhardened product with the skin or mucous membrane. If contact occurs, rinse with large amounts of water immediately.
- Wear protective gloves, mask and glasses.
- The product must be stored at room temperature avoiding high temperature and humidity.
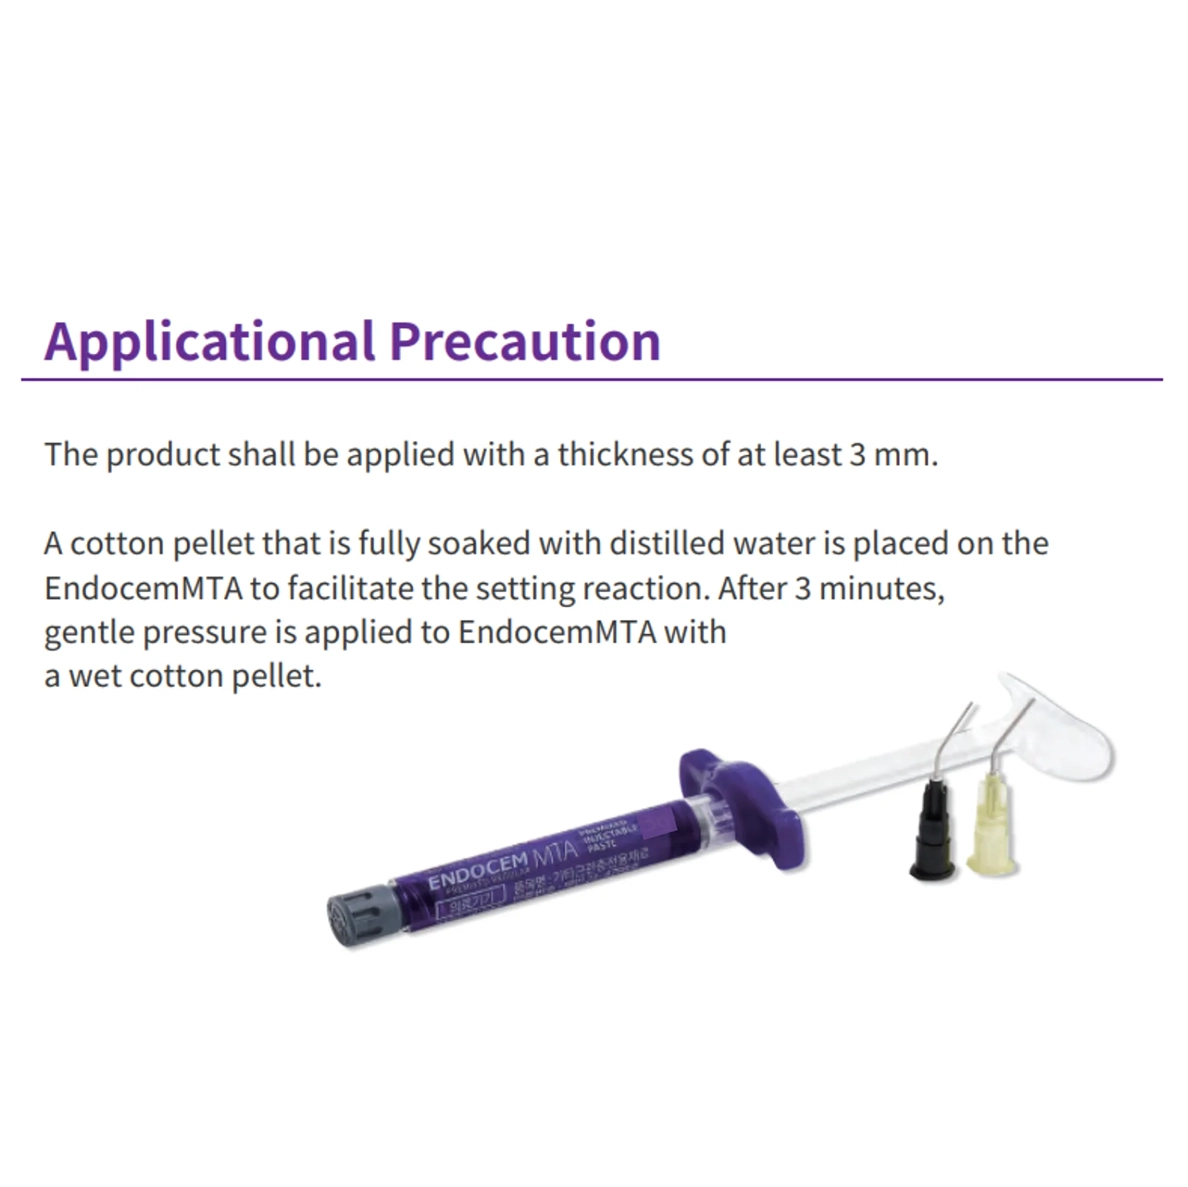
3. APPLICATIONAL PRECAUTIONS
1. Make sure that the product comes out smoothly through the dedicated tip.
- Wash the treatment area with distilled water before application.
- The product shall be applied with a thickness of at least 3 mm.
- The product should be used immediately after replacing the dedicated tip because it can harden when in contact with air.
DIRECTION FOR USE
PREPARATIONS PRIOR TO USE
1. Check the product and packaging for abnormal condition or damage before use.
2. The dedicated tip should be changed with a new one prior to use. Make sure that the product comes out smoothly.
DIRECTION FOR USE
Indirect pulp capping
1. Isolate the tooth with rubber dam and form cavity prep using a high speed bur.
2. Place a new dedicated tip on the syringe, check if the product can be extruded smoothly.
3. The product is applied to the deep dentin close to the pulp chamber, and distilled water is applied.
4. After 3-minutes, remove moisture with a sterile cotton pellet, and gently pack it to avoid dead space.
5. Make temporary restoration with self-curing glass ionomer etc.
6. Expose radiographs for verification of achievements.
Direct pulp capping
1. Isolate the tooth with rubber dam and form cavity prep using a high speed bur.
2. When the pulp horns is exposed, it is sufficiently disinfected with undiluted NaOCl.
3. Wash out with distilled water.
4. Place a new dedicated tip on the syringe, check if the product can be extruded smoothly.
5. Apply the product to the exposed pulp horns and control bleeding by pressing it with a cotton pellet.
6. Wash out the blood with distilled water.
7. If necessary, the product is applied additionally with a thickness of 3 mm or more.
8. Apply distilled water on the product and wait for 3-minutes.
9. Remove moisture with a sterile cotton pellet, and gently pack it to avoid dead space.
10. Make temporary restoration with self-curing glass ionomer etc.
11. Expose radiographs for verification of achievements.
Pulpotomy
1. Isolate the tooth with rubber dam and form cavity prep using a high speed bur.
2. Remove pulp horns to the appropriate depth.
3. Disinfect the surface of pulp horns with undiluted NaOCl, etc.
4. Rinse the pulp horns and cavity disinfected with distilled water.
5. Place a new dedicated tip on the syringe, check if the product can be extruded smoothly.
6. The product is applied to the pulp horns and the surrounding hard tissue.
7. Apply distilled water on the product and gently pack it with a wet cotton.
8. Wash out the blood with distilled water.
9. The product is applied additionally with a thickness of 3 mm.
10. Apply distilled water on the product and wait for 3-minutes.
11. Pack the product, dry it well, and make temporary restoration with glass ionomer etc.
12. Expose radiographs for verification of achievements.
Repair of perforation
1. Isolate the tooth with rubber dam and disinfect the treatment area.
2. Dry the treatment area.
3. Place a new dedicated tip on the syringe, check if the product can be extruded smoothly.
4. Apply the product to the treatment area.
5. Expose radiographs for verification of achievements. If the perforated site does not get filled completely, pack with an appropriate instrument, and after adding the product, a radiograph is taken.
6. Perform endodontic treatment.
Root-end filling
1. After approaching the apical area, resect apical 3 mm with surgical bur.
2. Form a 3 mm deep cavity on the resected apex.
3. The bleeding area is compressed with a cotton pellet, etc. along with hemostatic agent.
4. Discolor with methylene blue to check for cracks or accessory canals in the apical region and observe with microscope.
5. Place a new dedicated tip on the syringe, check if the product can be extruded smoothly.
6. Wash the reverse filling cavity with distilled water and apply the product.
7. After applying the wet cotton to the product, wait 3 minutes.
8. Pack the product with an appropriate instrument. If necessary, apply additional products.
9. Expose radiographs for verification of achievements.
INSTRUCTIONS FOR STORAGE
- Store at room temperature avoiding high temperature and humidity.
- The new dedicated tip must be used in next use.
- After use do not recap the used dedicated tip, twist the storage cap provided with the product tightly onto the syringe head.
- Once the gray cap, which was initially fastened to the syringe, is separated, it will not be sealed even if it is fastened again. It must be sealed using the enclosed storage cap.
- Place syringe with the storage cap in the provided pouch. Seal the pouch completely.
- Tighten the storage cap immediately after use to minimize the product from contamination and infection during storage.
SHELF LIFE
2 years from date of manufacture.